.jpg)
I'll be posting a tutorial on how to make up this card very soon :)
in the meantime you can check it out HERE

The majority of this card is simple matting & layering
there are a couple of techniques used so I'll so you those in more detail.

if you take a closer look at the Holly background behind the boy topper
you can see that the it is embossed
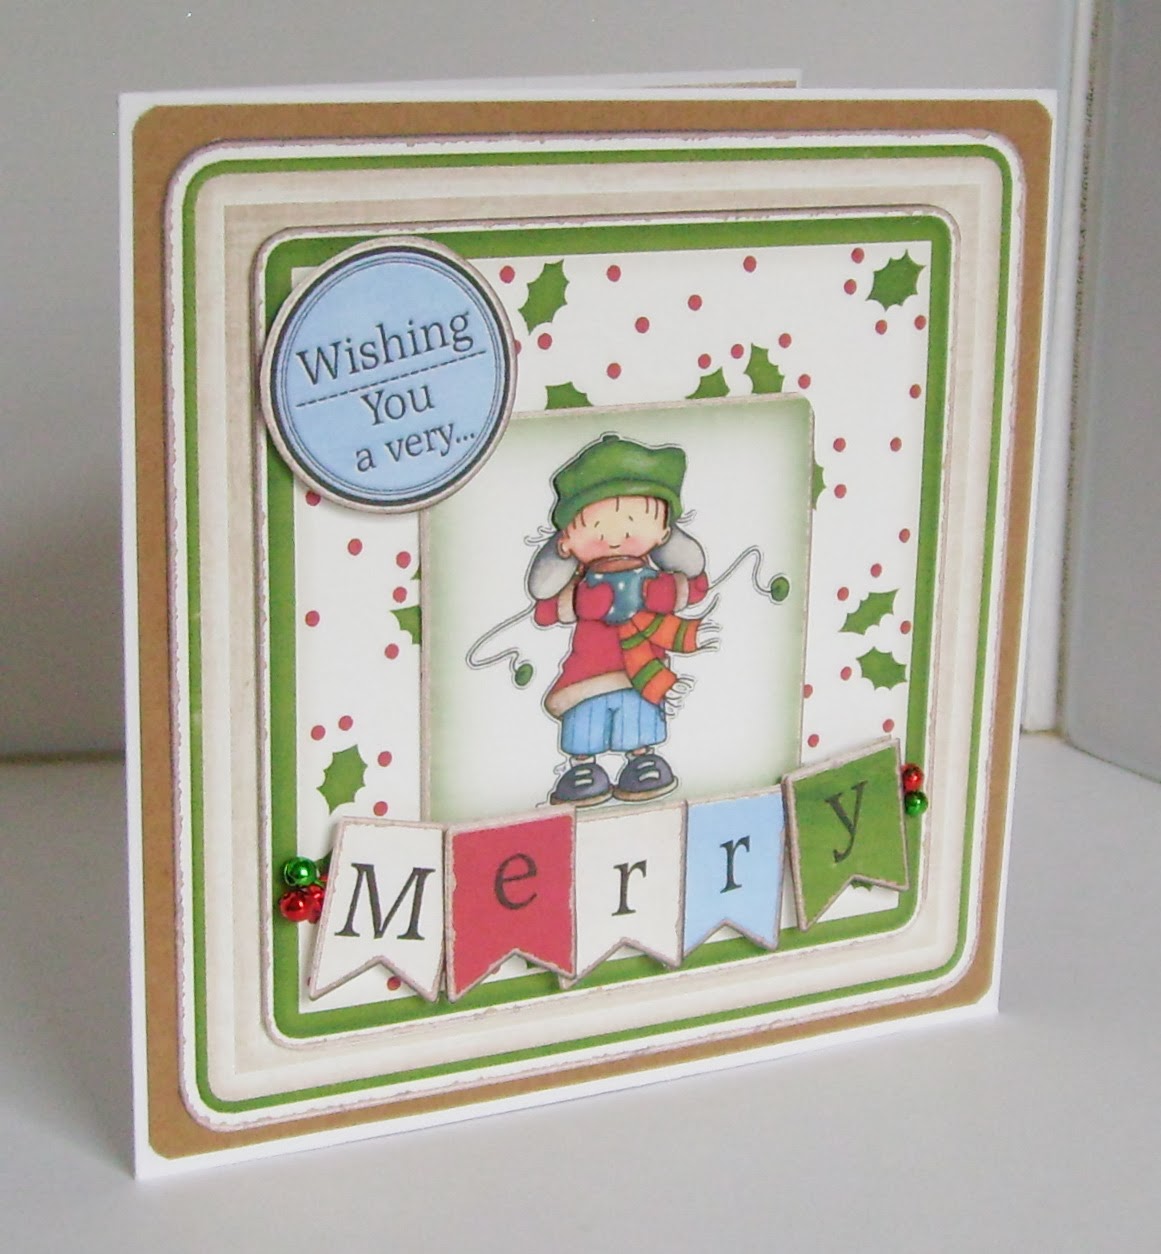
The embossing is done by laying this stencil by Imagination Crafts HERE
over the printed version square (as shown below)

first I've cut away the square from the worksheet

lay the stencil over it until you've matched up the leaves and the red dots
(you may have to turn the stencil many times
and even flip it over to get the match) the easiest way though it to look at the pattern
on the stencil in a corner and identify the same pattern on the printed version.
You must secure it down so it won't move.

Next you need to secure an embossing mat down so that too won't move!!

and secure the stencil and printed square to that, it's all about securing everything down
before you emboss so that the print and the emboss will marry up nicely

and here's the piece :) you can see that the embossed swirls pop out
from the printed leaves and dots

It's a lot easier than you might think to get the Christmas wording in place!
First print off the word then cut it out keeping a little white border all round it.
Once cut out, fold the word in half, pop on a double layer of DS Foam Pads to
the back of the letter "C" and repeat for the other end under the letters "a & s"
Attach the both pieces of backing paper to the 2 insides,
roughly halfway up and 4cm in from the left hand side stick down the wording by the letter "C"
fold it in half, release the heading from the other piece of foam tape (under the letters a & s)
and close your card onto it, don't secure it down too much at this point just in case you
need to re-adjust it a little but your aim is to have the wording strung in between
the inside front & the inside back.


a quick note here, your are limited in how much you can open the card

so cut out and pop the sentiment square on the back
No comments:
Post a Comment