Monday 30 September 2013

Wash Day

There's a new MEGA KIT called Wash Day
Here's the link to the KIT


There's some pretty frames


lots of embellishments


a Nestins Set and a full Alpha Set too


and Jpeg 12 x 12 inch papers, yummy :)

There's also a Craft Artist 2 Kit HERE

Sunday 29 September 2013

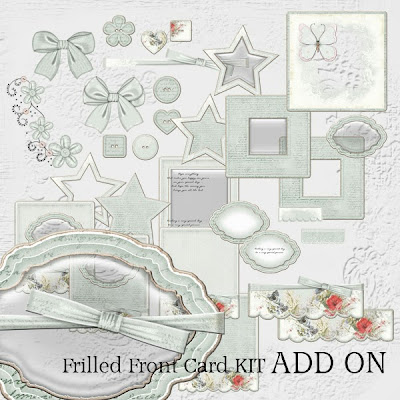
Frilly Front Card Kit ADD ON, ALPHA SET AND CRAFT ARTIST 2 DIGIKIT


I've added and ADD ON set to coordinate with the Frilled Card Front KIT
and you can find that HERE


I've also added a matching Alpha Set HERE


and for those that like to create using Craft Artist 2
you can find the new DIGIKIT that contains EVERYTHING for this
range and you can find that HERE
with a 25% OFF Promo Discount 


Friday 27 September 2013

Mi Casa es su Casa

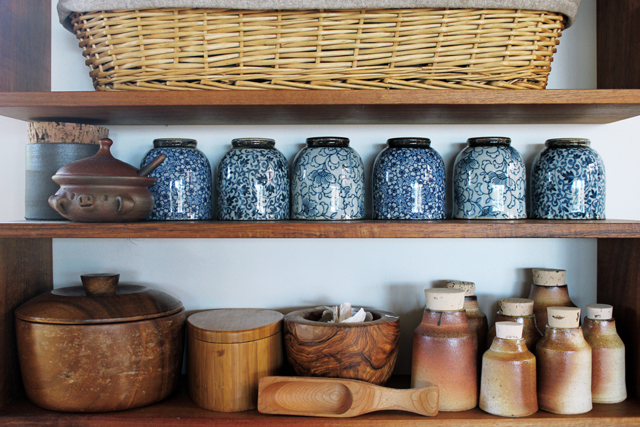
Kitchen shelves
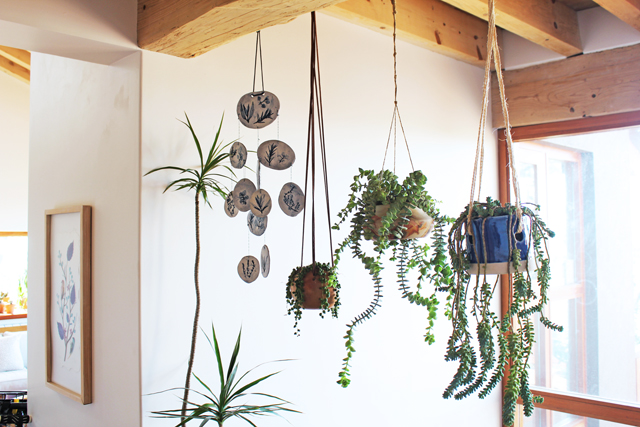
Happy hanging plants
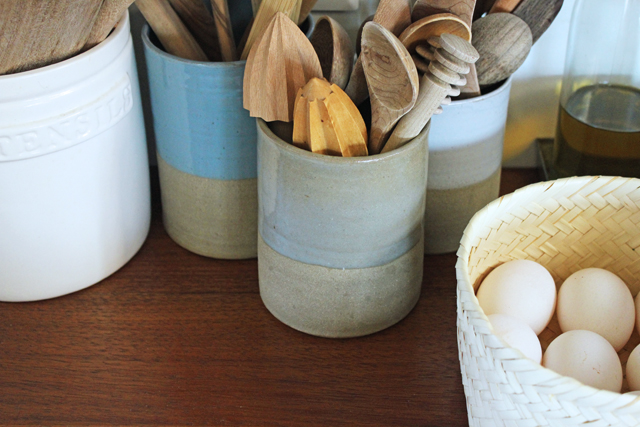
In the kitchen
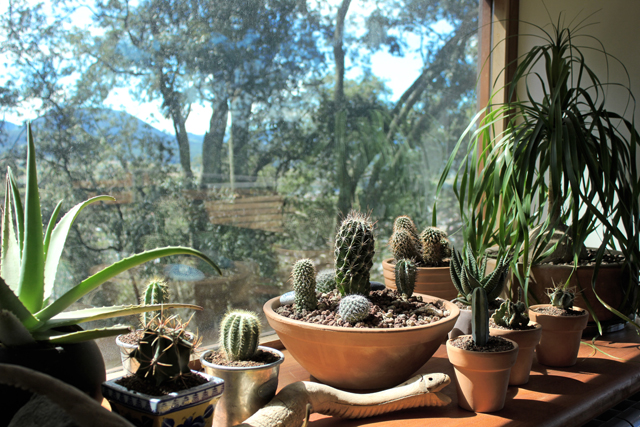
Dining room window
Cactus collection
Make sure to follow me on Instagram
I share lots of photos there that you won't see here or at my Facebook page.

Simple festive nail art


Nothing too fancy today. Just a lil twist to a plain mani.

The red is something I picked from my moms stash though I doubt she had ever opened it.
the gold is a chambor jewel nail polish no.12. Mom said dad picked this Chambor for her when he went to a shop and she couldnt find a decent polish in her stash. I went Awww..how chweet!
Wore this to an indian baby shower function for a relative.

Someone once told me these are called brazilian tips.

Vlad Gurye


Vladislav Guriev
contemporary artist Vladislav Guriev was born August 6, 1967, in Odessa. Successfully graduated from Odessa State School Grekov and Moscow Stroganov Institute, in "Industrial Design". Since 1993 he is a member of the National Union of Artists of Ukraine. Its bright works full of life, movement and romanticism.

-


Guriev, Vladislav
(Guriev, Vladislav) Painter. Education: Odessa State College. MB Grekova. in 1987 .. (SRN - a teacher of drawing and painting.) Moscow Institute. Stroganov in 1994. (Industrial Design). Member of Youth Association since 1990. MOONSKHU member since 1993. participant of regional, national and international exhibitions since 1989. Participants in the symposium painting "Landscape 96" Pechora, Nemiroff, Vinnitsa. "Simeiz 96" Crimea. "Pokrovsky landscapes 2004" Kinburn Spit. solo exhibitions were held in 1995, 1997g.g in Nikolaev, Yuzhny (Odessa region). 1995 1997g.g. International exhibition "Ukraine and Russia to Mexico." 1997. Cologne Germany. 2001, 2003, 2004, 2008 in Amman Jordan. 2004. Nikolaev Gallery on the Spasskaya and Art Gallery MNDU them. Peter Graves. Republican exhibitions: 1991. "45 Years of Victory" "Evening tram" holst.maslo. 1990. Poltava "Picturesque Ukraine" "Two well" holst.maslo. 1992. "Fall 93" "Presence" oil on canvas Stained glass "South", "The White Shadow" oil on canvas 1002g. Simferopol "Nude" "Lying" oil on canvas, 1993. Kiev "Spring" series, "The consecration of the pyramid" etching aquatint.


Ele Baby Card Tutorial


You can find the KIT version HERE
and the Ready to Print version HERE


Here are my printed worksheets plus 1 metre of ribbon & a small strip of ribbon,
you'll also need a piece of card measuring 18cm x 9.5cm


With the short edge up against the butt bar score
1cm then 1.5cm then 9.5cm and then 10cm
Turn the piece of card so the long edge is now against the butt bar and score
at 1cm then 1.5cm 


Cut away the score lines on the side that doesn't have any score lines
on the short edge (take a look at the pic above)
Cut out the square in the left hand corner,


 then cut at an angle each edge as shown above, this creates a mitred corner
when the box is made up


Attach some DST the the outer flaps, measure down from the inner fold line
1cm and central and cut a slit, this is for the ribbon later.
Attach a small strip of DST leading down from the slit but don't make it too long, approx 2cm would be good


Now for the circles on the ribbon, cut a slit about 1cm down from the top of the circles and
central. Make sure the slit is wide enough to take your ribbon


again attach a strip of DST running down from the slit, again approx 1cm in length
(if you put too long a piece of DST the ribbon will not be able to fold up)
Starting with the first circle (which will be the top one and in this instance it is the letter B)
thread the ribbon from the back through the slit and pull through the ribbon giving you approx.
12cm of ribbon as you'll be using that to attach it to the box later,
stick the ribbon down onto the the DST strip.


Continue to thread each circle in the same way making sure that the bottom of the
previous circle covers the slits.
The above pic is how it should look once you've thread the 4 circles 


and this is it from the front.


To attach it to the box, thread the ribbon through the slit in the box
as sown above


leaving a gap of approx. 1.5cm from the base of the box to the top of the
first cirle, fold over the ribbon and secure


Fold the box flaps neatly, release the DST on the 2 box flaps and fold the
other side over and secure


like this


and this is what it should look like from the front now.


This is my base 8 x 8 card I've printed direct too, pierce a hole
all the way through from front to back and thread the small piece of ribbon through and secure at each end


I've cut out my next layer, added DS foam tape to the back to help raise it and stuck
it down


I cut out the sentiment using my Spellbinders dies and attach it on the back
to hide the hole with the piece of ribbon


I've smeared UHU glue on the back of my box and attached it to my card


then mounted the elephant on top, cut out the circle sentiment and
placed it coming out of the trunk


To fold up the circles simply concertina them as shown above 


slide them into the box
A quick note here: you need 4 circles for the circles to stay inside the box, anything less
and they start to fall down


and here it is


and here's what it looks like when you pull the ribbon tab